Our Aunt Jeanne has been preserving her garden through canning for over 40 years. So, when she offered to teach my sister, Elaine, how to do it, I jumped at the chance…to butt in and take over…No, I mean of course to take advantage of her generous offer. This is Aunt Jeanne’s method. You can find the main parts in a basic book on canning, but there are some small steps that are all her. Those are my favorite parts. The mistakes, on the other hand, are all mine.
The best laid plans
In mid-August we started by tackling tomatoes in my kitchen surrounded by friends. Still, I felt so intimidated. I had anxiously prepared the night before. I had three gallon bags of whole tomatoes blanched and peeled waiting in the fridge. I had a hot dishwasher full of sterilized jars, lids (flats) and rings…oops. Lesson #1: Do not put the flat lid parts in the dishwasher or any hot water before it’s time.
My Aunt Jeanne is not a fussy lady. So, when she was adamant that the flat lids of the canning process must be treated very carefully and is the one part of the system you should never wash in advance, nor heat to any degree before you’re ready and certainly never re-use, I had to throw them away and get new. Actually my husband ran to the hardware store to buy us more. So much for planning ahead! Honestly, I was surprised at the lack of comments or warnings anywhere on my jar equipment about this.
Finally, we got started. Canning requires your full attention and each step is important. Over the years Aunt Jeanne says she has made every mistake possible. Little did she know I had a new one in store for her. Because I had peeled my tomatoes the night before, they had spent all night draining their juices. So, days later after they were canned and cozy on my cellar shelf, I noticed they were low on juice. The jars looked half empty! Tomatoes were exposed to the air in the jar at the top. We had no idea how this could happen. I had temporarily stumped my guru. Then Jeanne called – she had remembered my attempt to work ahead. Tomatoes are spongey and my previously drained ones dried out enough that when we submerged them back in the juice in the jar, they soaked it up!
Over time it was likely that those tomatoes exposed to air would get rubbery or worse. So, I had to re-can our seven lovely jars of tomatoes. And lesson #2 was learned: Do not work ahead when it comes to canning.
Re-canning
They say it’s important to make your mistakes early. This holds true in canning. You certainly want to know right away if something’s gone wrong. You do not want to realize this months later when you go to retrieve your little jar full of high hopes and big plans.
I made a few mistakes in my first attempts, but nothing spectacular. The worst was during the re-processing of my jars now filled to the jar lip with hot tomato juice. The first jar I lowered into the boiling water popped. Oops, and then there were six. I was disappointed, but quickly felt relieved that it happened early and my other six jars were safe on dry land. My mistake, and Lesson #3, was that the canner water was too hot – the jars from my cool cellar were too cool. I picked out the big glass jar pieces as my tomatoes oozed out into the water. After cleaning it all out, I started again, but this time, I brought my jars and the surrounding water slowly up to boiling together.
Don’t be intimidated, but do be ready to focus
I only share my experience and mistakes in the hope it will demystify the process and that you will try canning and have a quicker path to success. It is so rewarding to hear your jars seal with a satisfying kiss of the cooling tomatoes sucking the lid tight to the jar. The sound of success! I don’t want you to miss out on that.
Canning tomatoes in tomato juice
The Equipment:
- Have clean jars and rings ready. Have new flats (or “lids”) waiting in their pristine untouched condition.
- We used a canner to process the tomatoes – a large kettle with a lid and a metal insert that holds 7 or 9 jars.
- For juice making use a chinois, pronounced shin’-wah, a conical sieve with an extremely fine mesh, its stand for over a pot, a wooden pestle, and two large pots.
- A ladle
- A funnel that fits your jars.
- Tongs made for lifting jars.
The Ingredients:
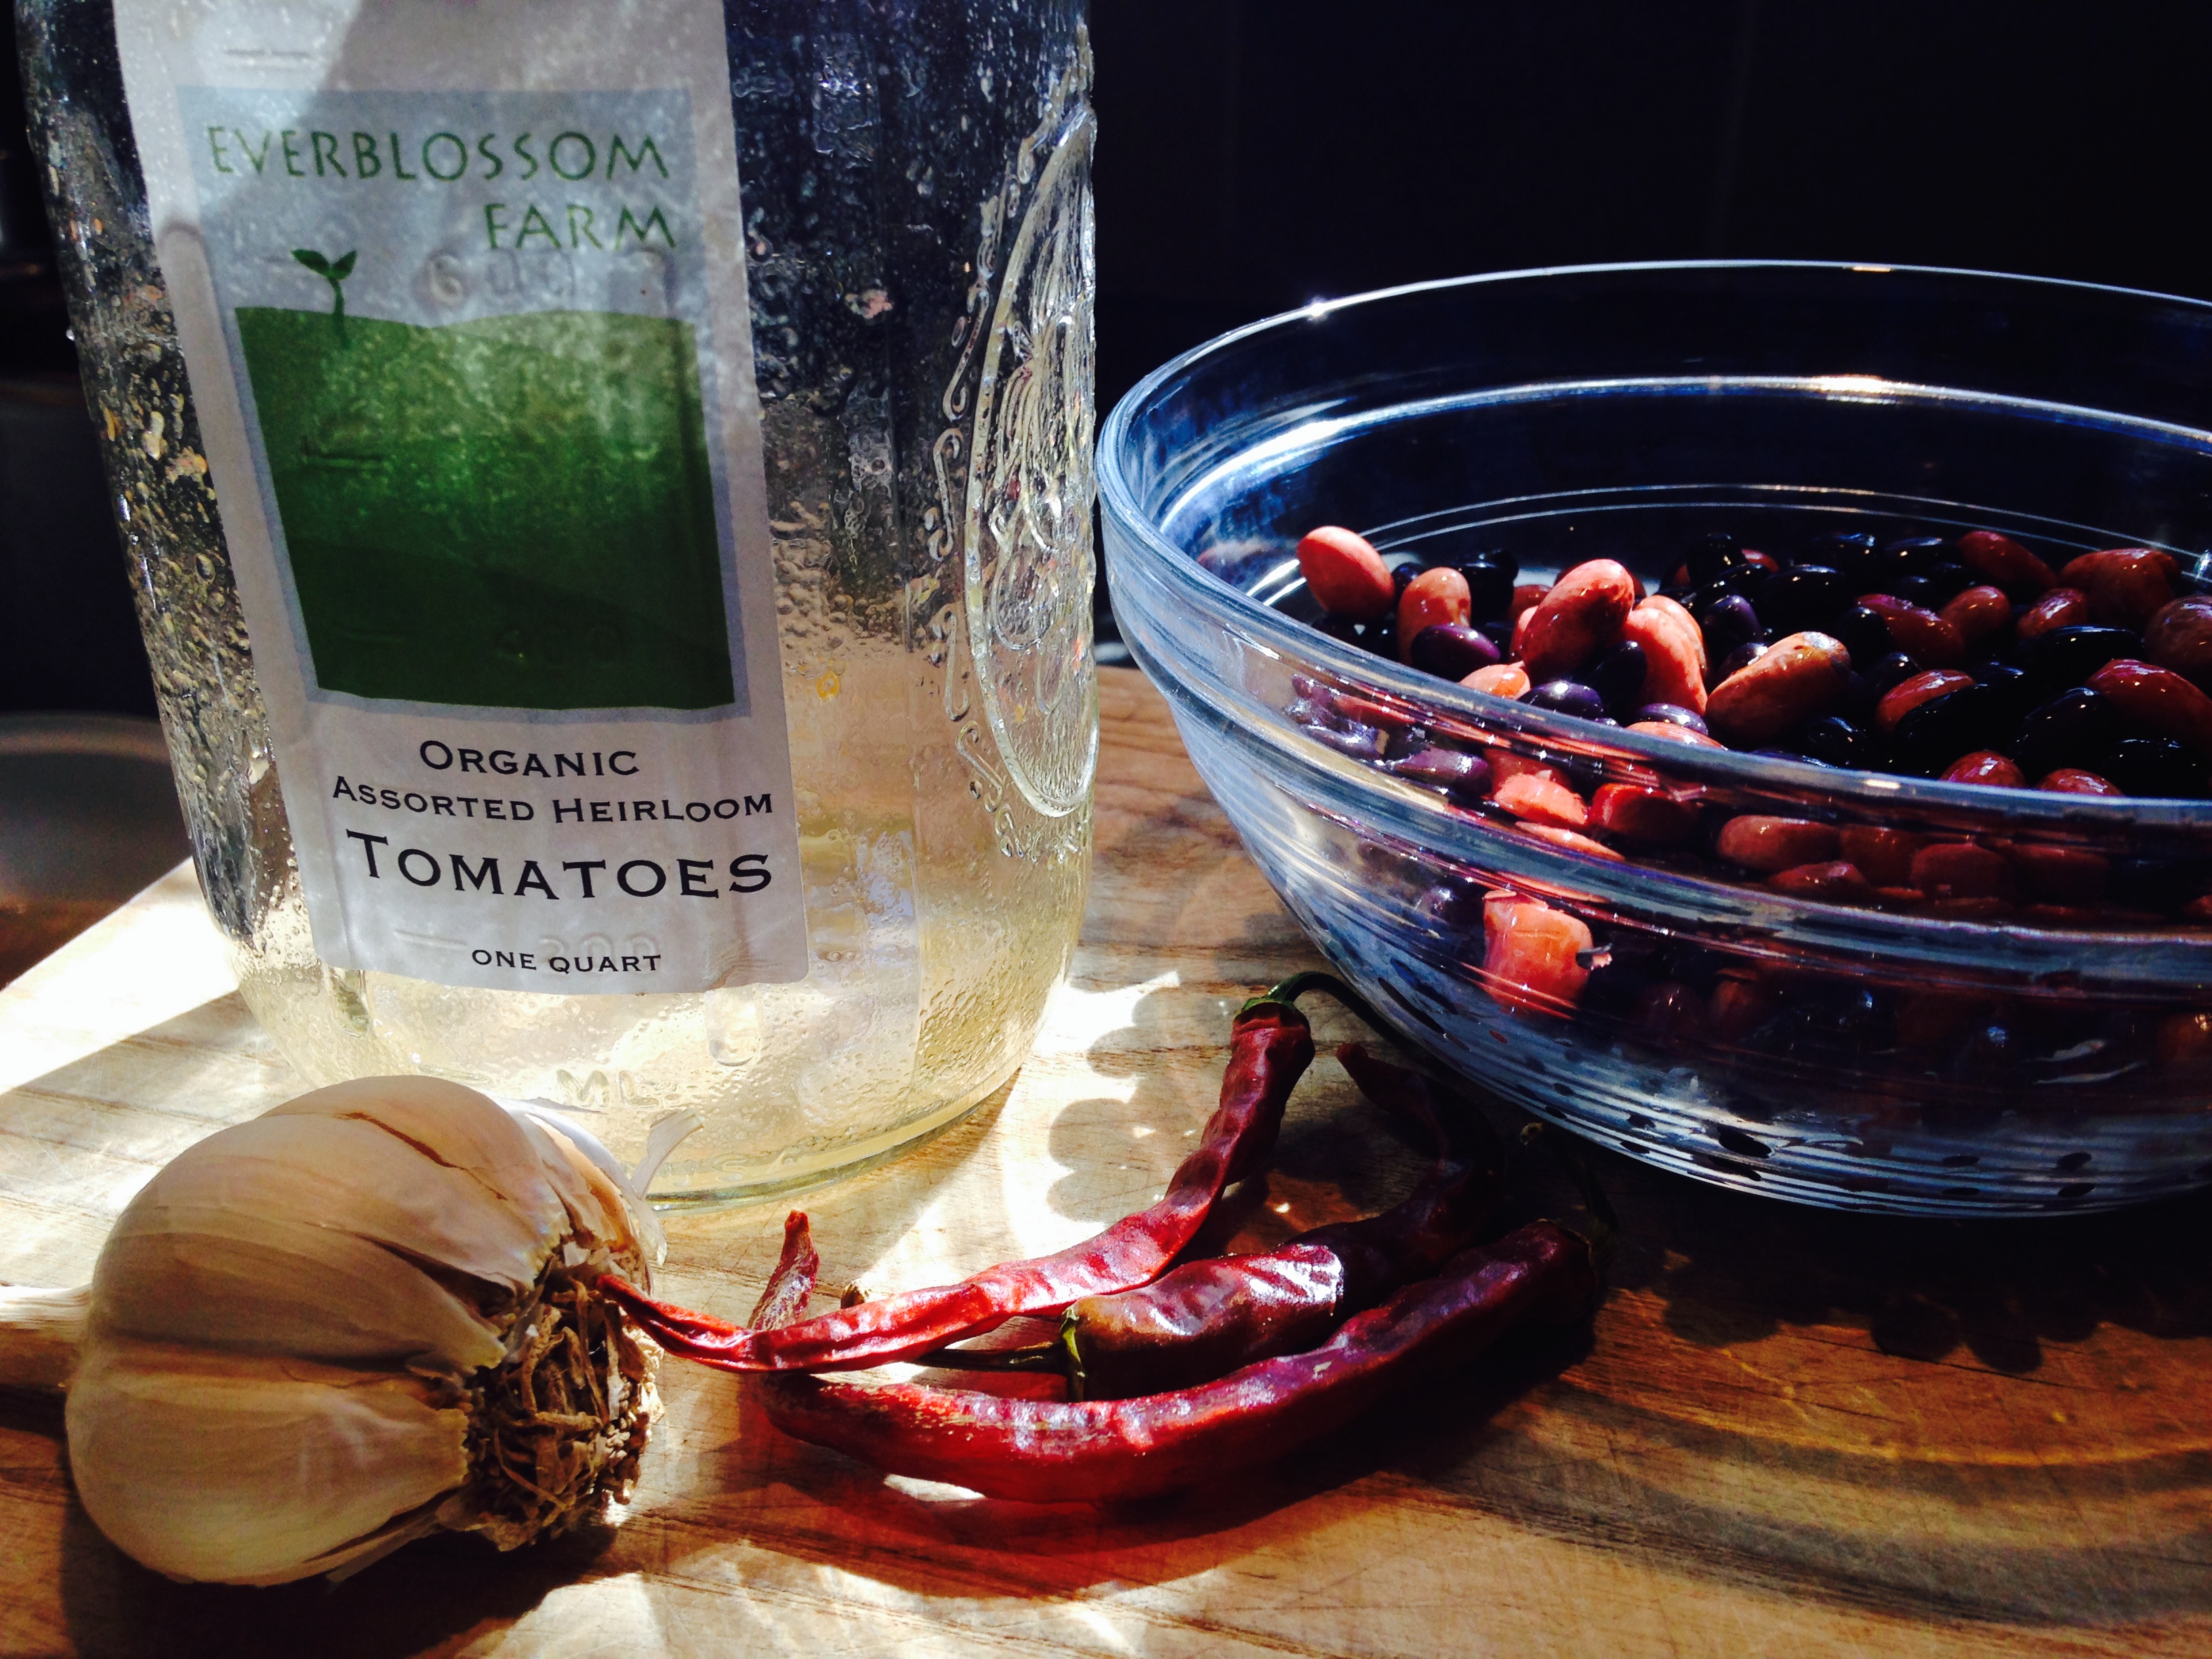
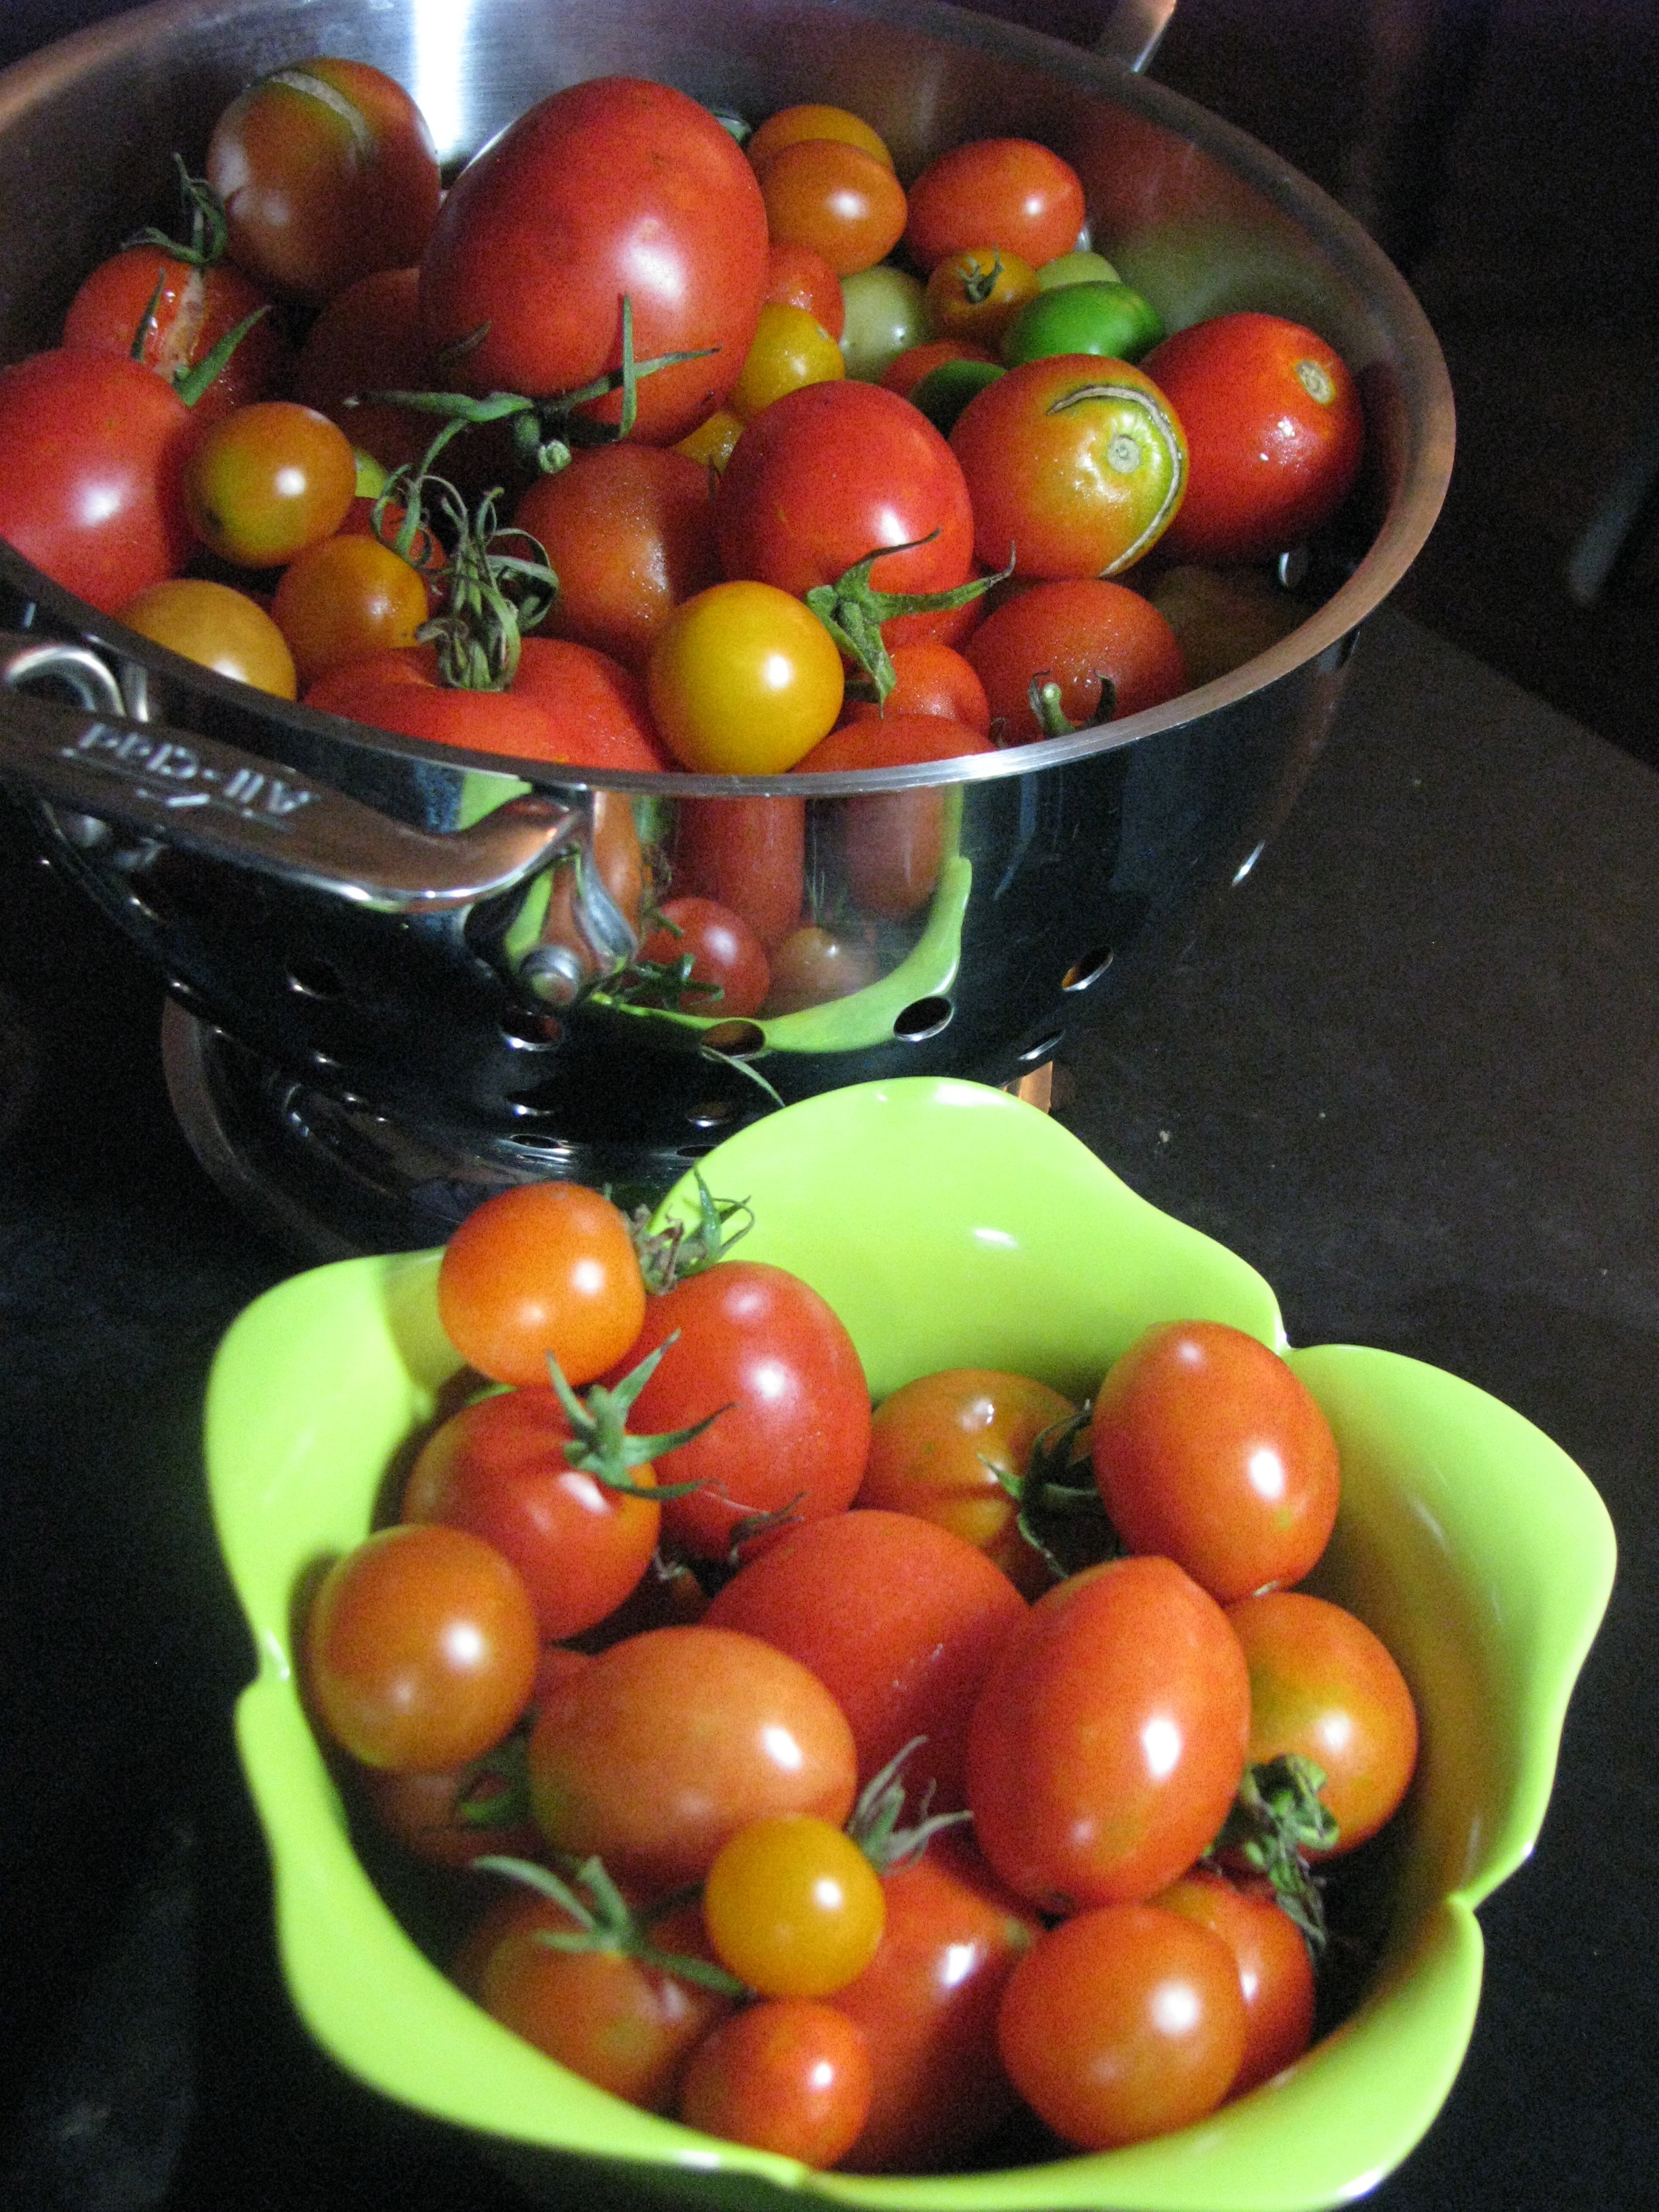
- Assorted whole peeled tomatoes – 3 1-gallon bags of tomatoes will fill 7 quart jars, leaving room for juice.
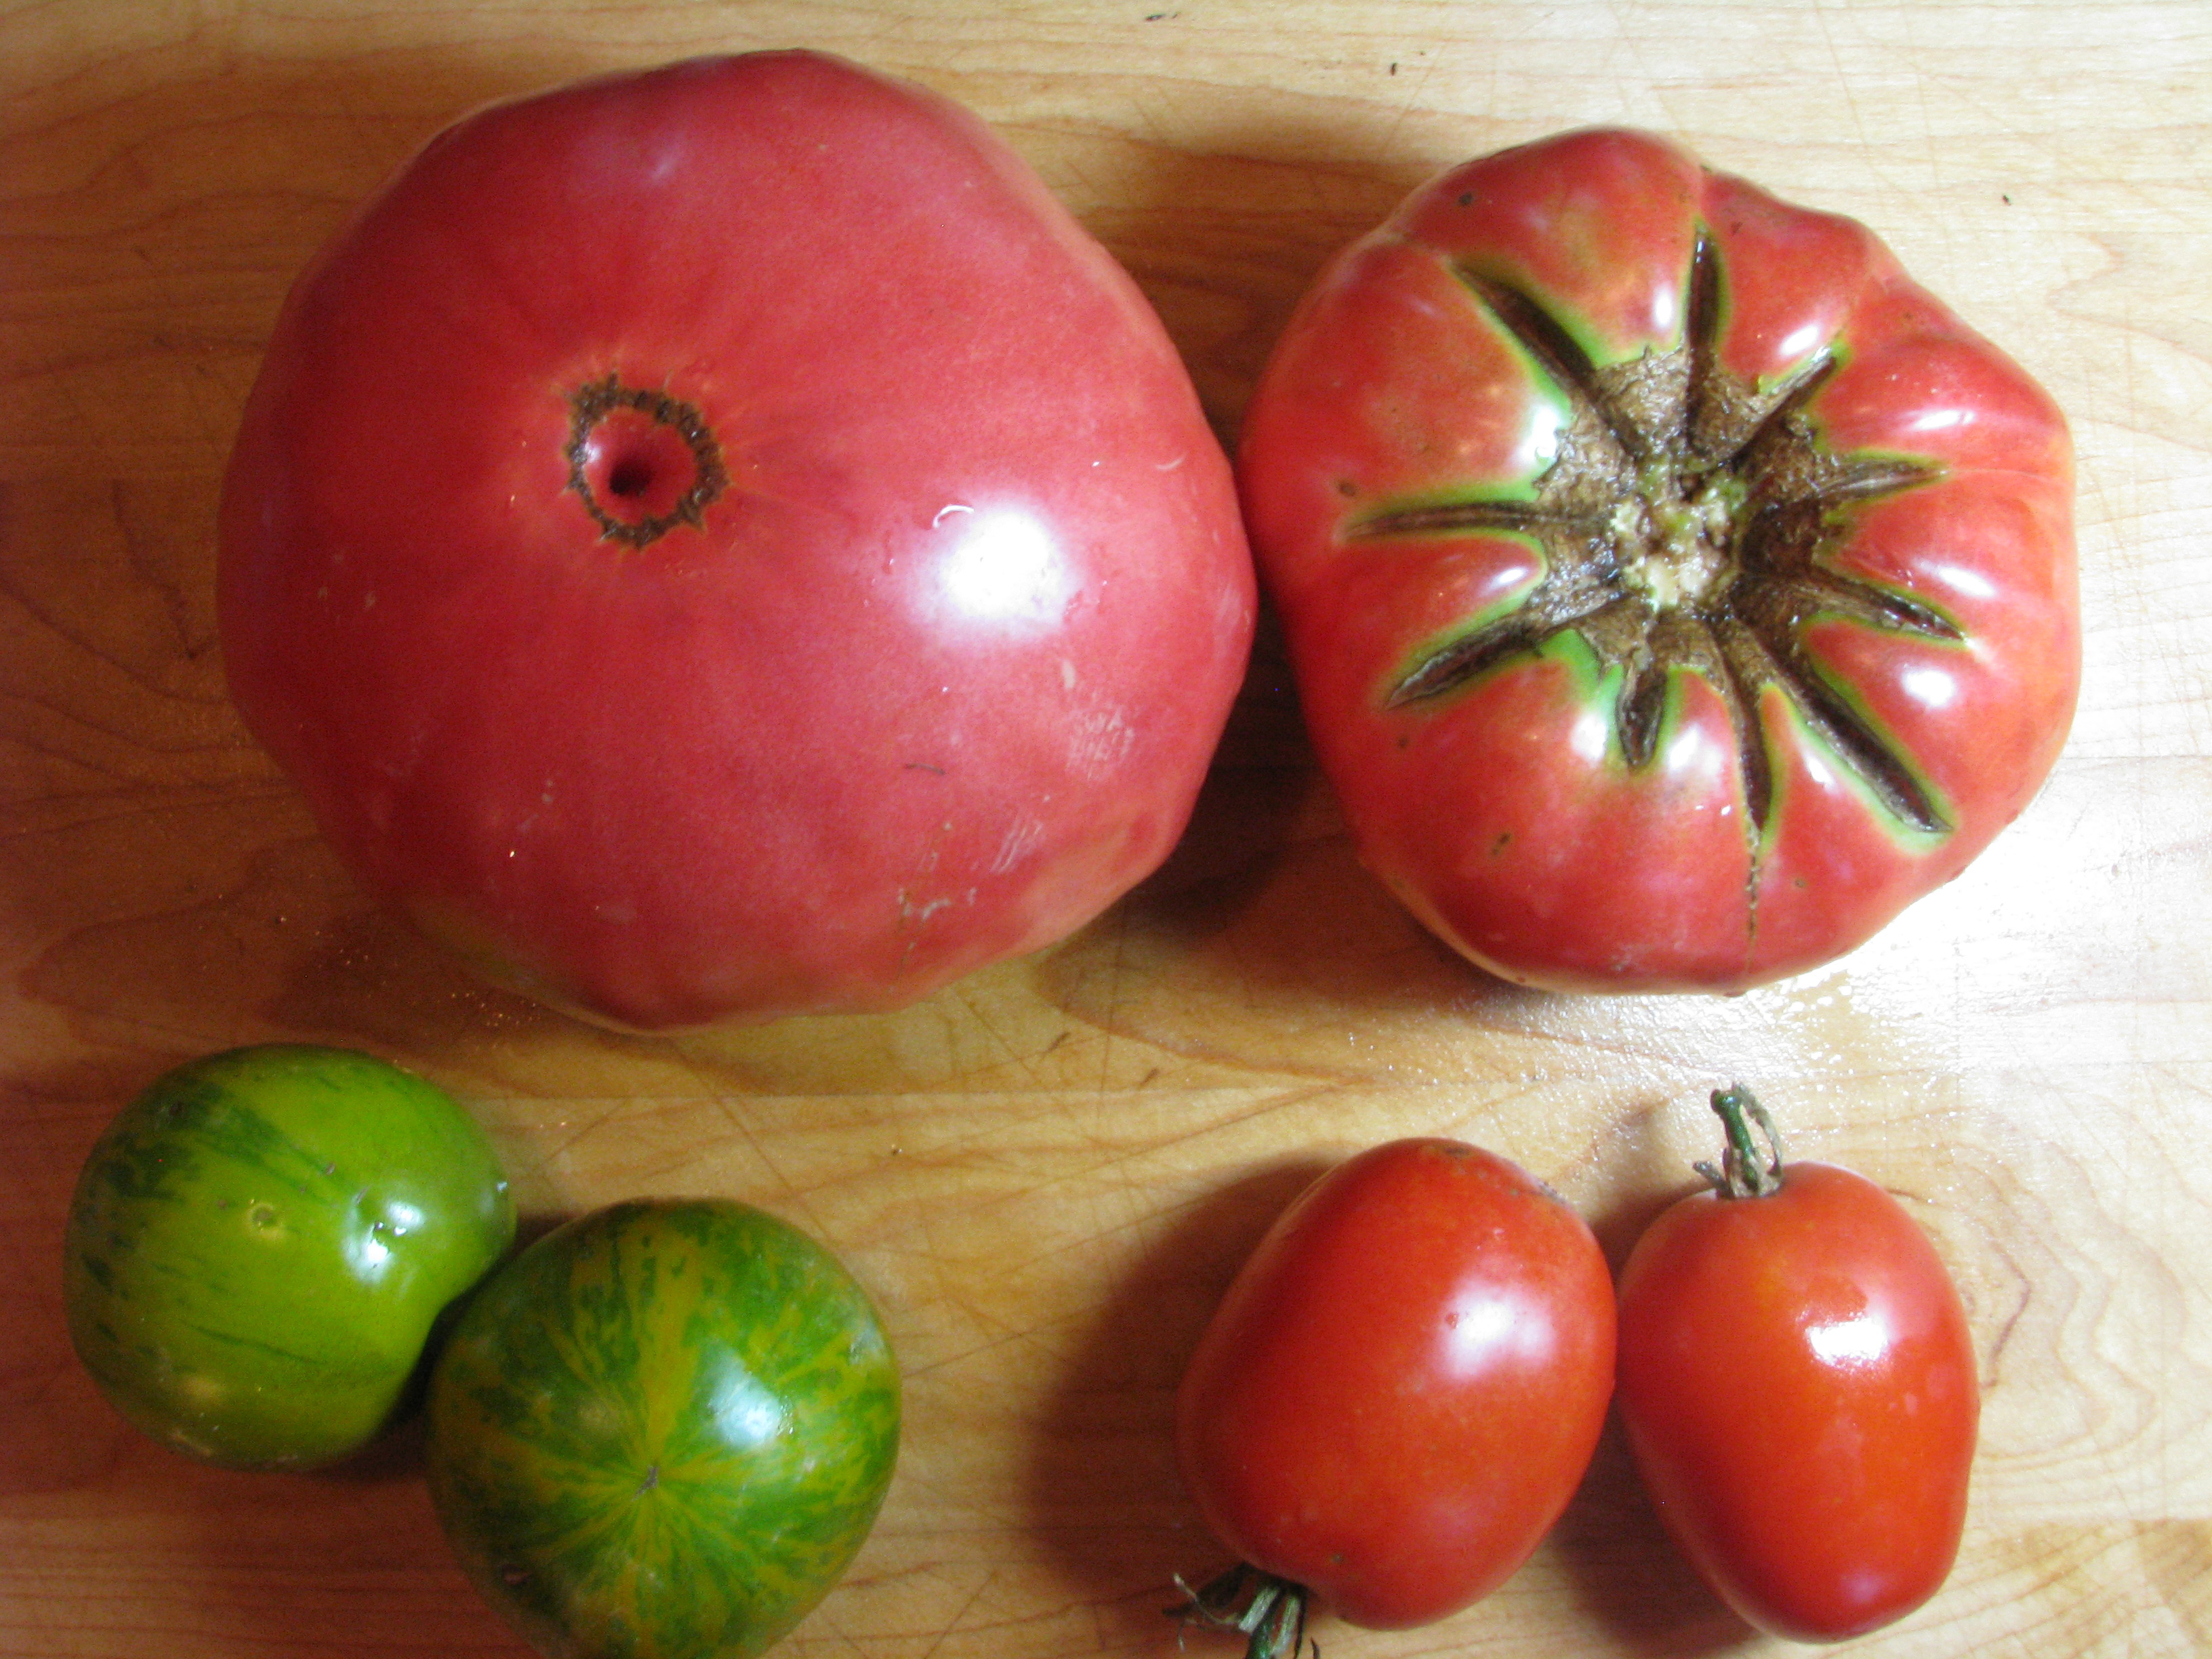
- Assorted varieties of tomatoes for juice – Smaller varieties and “seconds” are great for this. You’ll need about 10 quarts of tomatoes to make enough juice to cover your whole tomatoes. Or, use at least twice that amount to also make jars of just juice — enough to fill a 16 to 18 quart pot
- 2 stalks of celery
- 1 medium onion
- Coarse salt

Peeling and preparing tomatoes:
- Heat a large pot of water until simmering.
- Cut an X in the bottom of each tomato. Working in batches, blanch tomatoes for 3 minutes or until peels start to crack and peel away. Transfer to a bowl of ice cubes and after cool enough to handle, easily pull off the skins and cut away the tough or bad parts.
- Place peeled tomatoes into jars, filling each up until just beneath the lip of the jar.
- Add a pinch of salt in each.
Making the Juice and assembling the jars:
- Use an assortment of tomatoes for the best flavor – enough to fill a 16 to 18 quart pot. Cut them in half and remove any bad spots. No need to peel them.
- Add 2 stalks of celery roughly chopped and one onion cut into eighths.
- Cook in a large, 16 to 18 quart pot on medium heat with 2 teaspoons of salt.

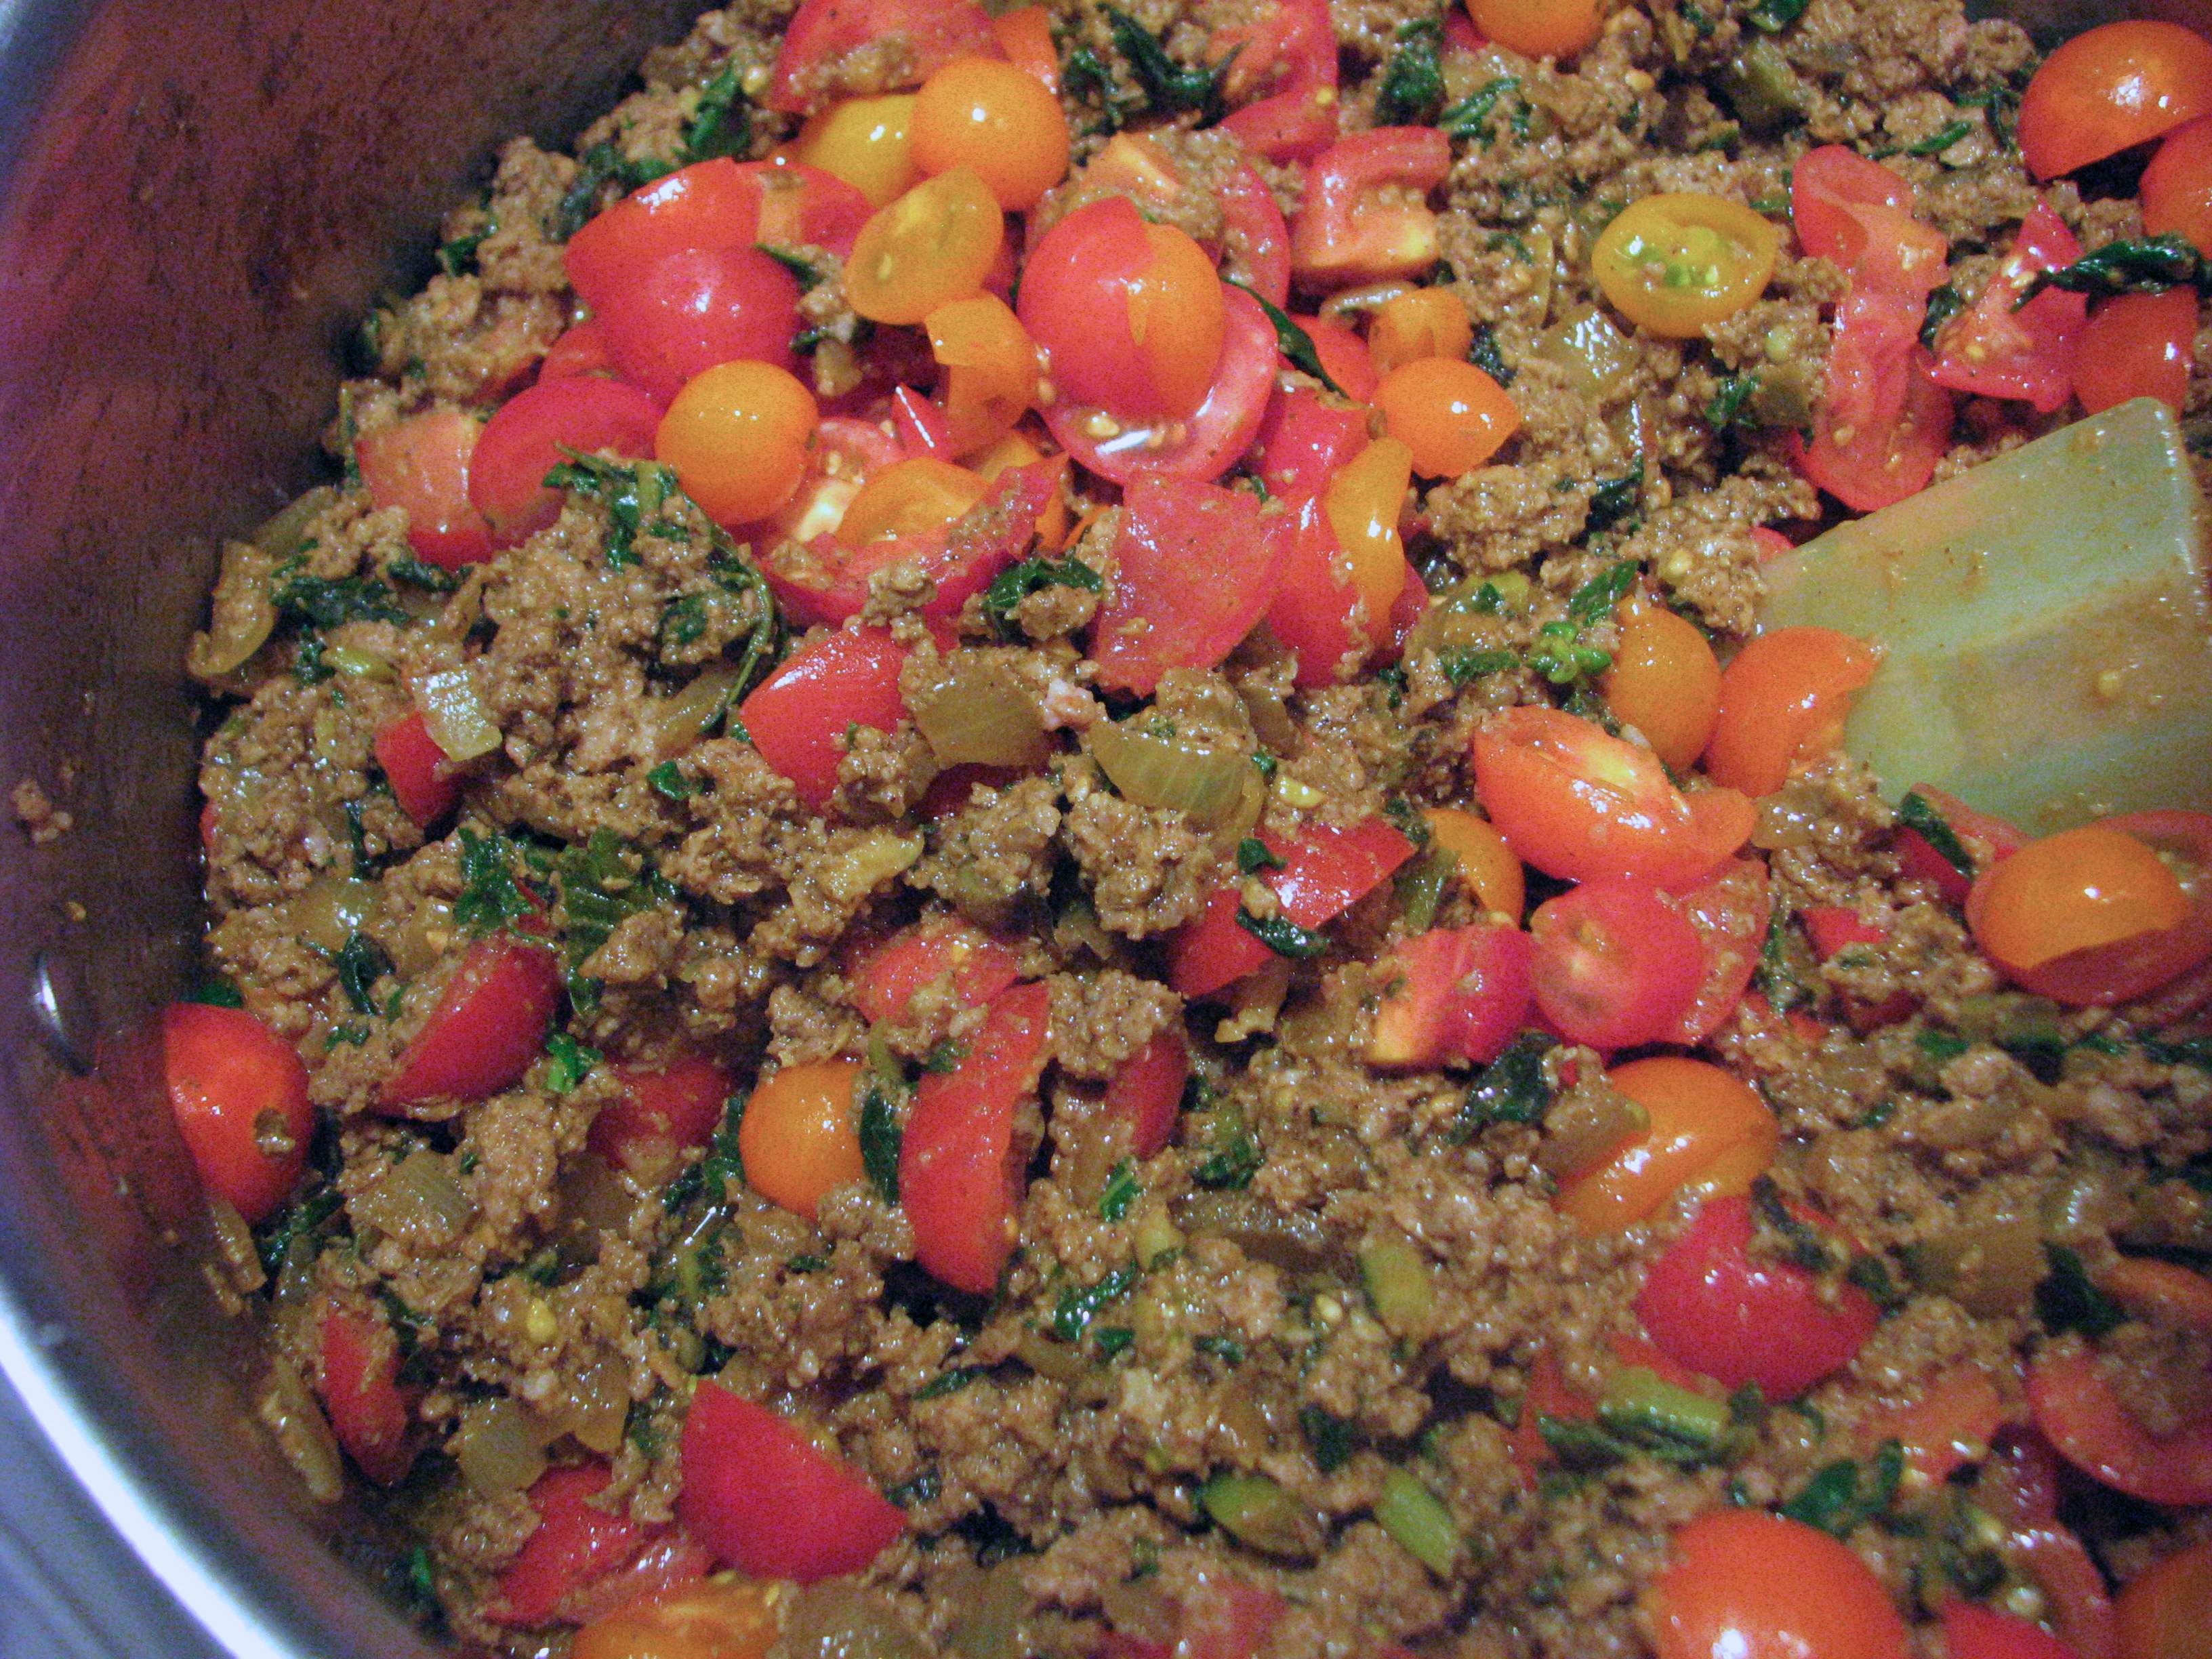
the makings of tomato juice
- Stir with a long spoon, moving tomatoes from the bottom until soft and dissolving, about 30 minutes.
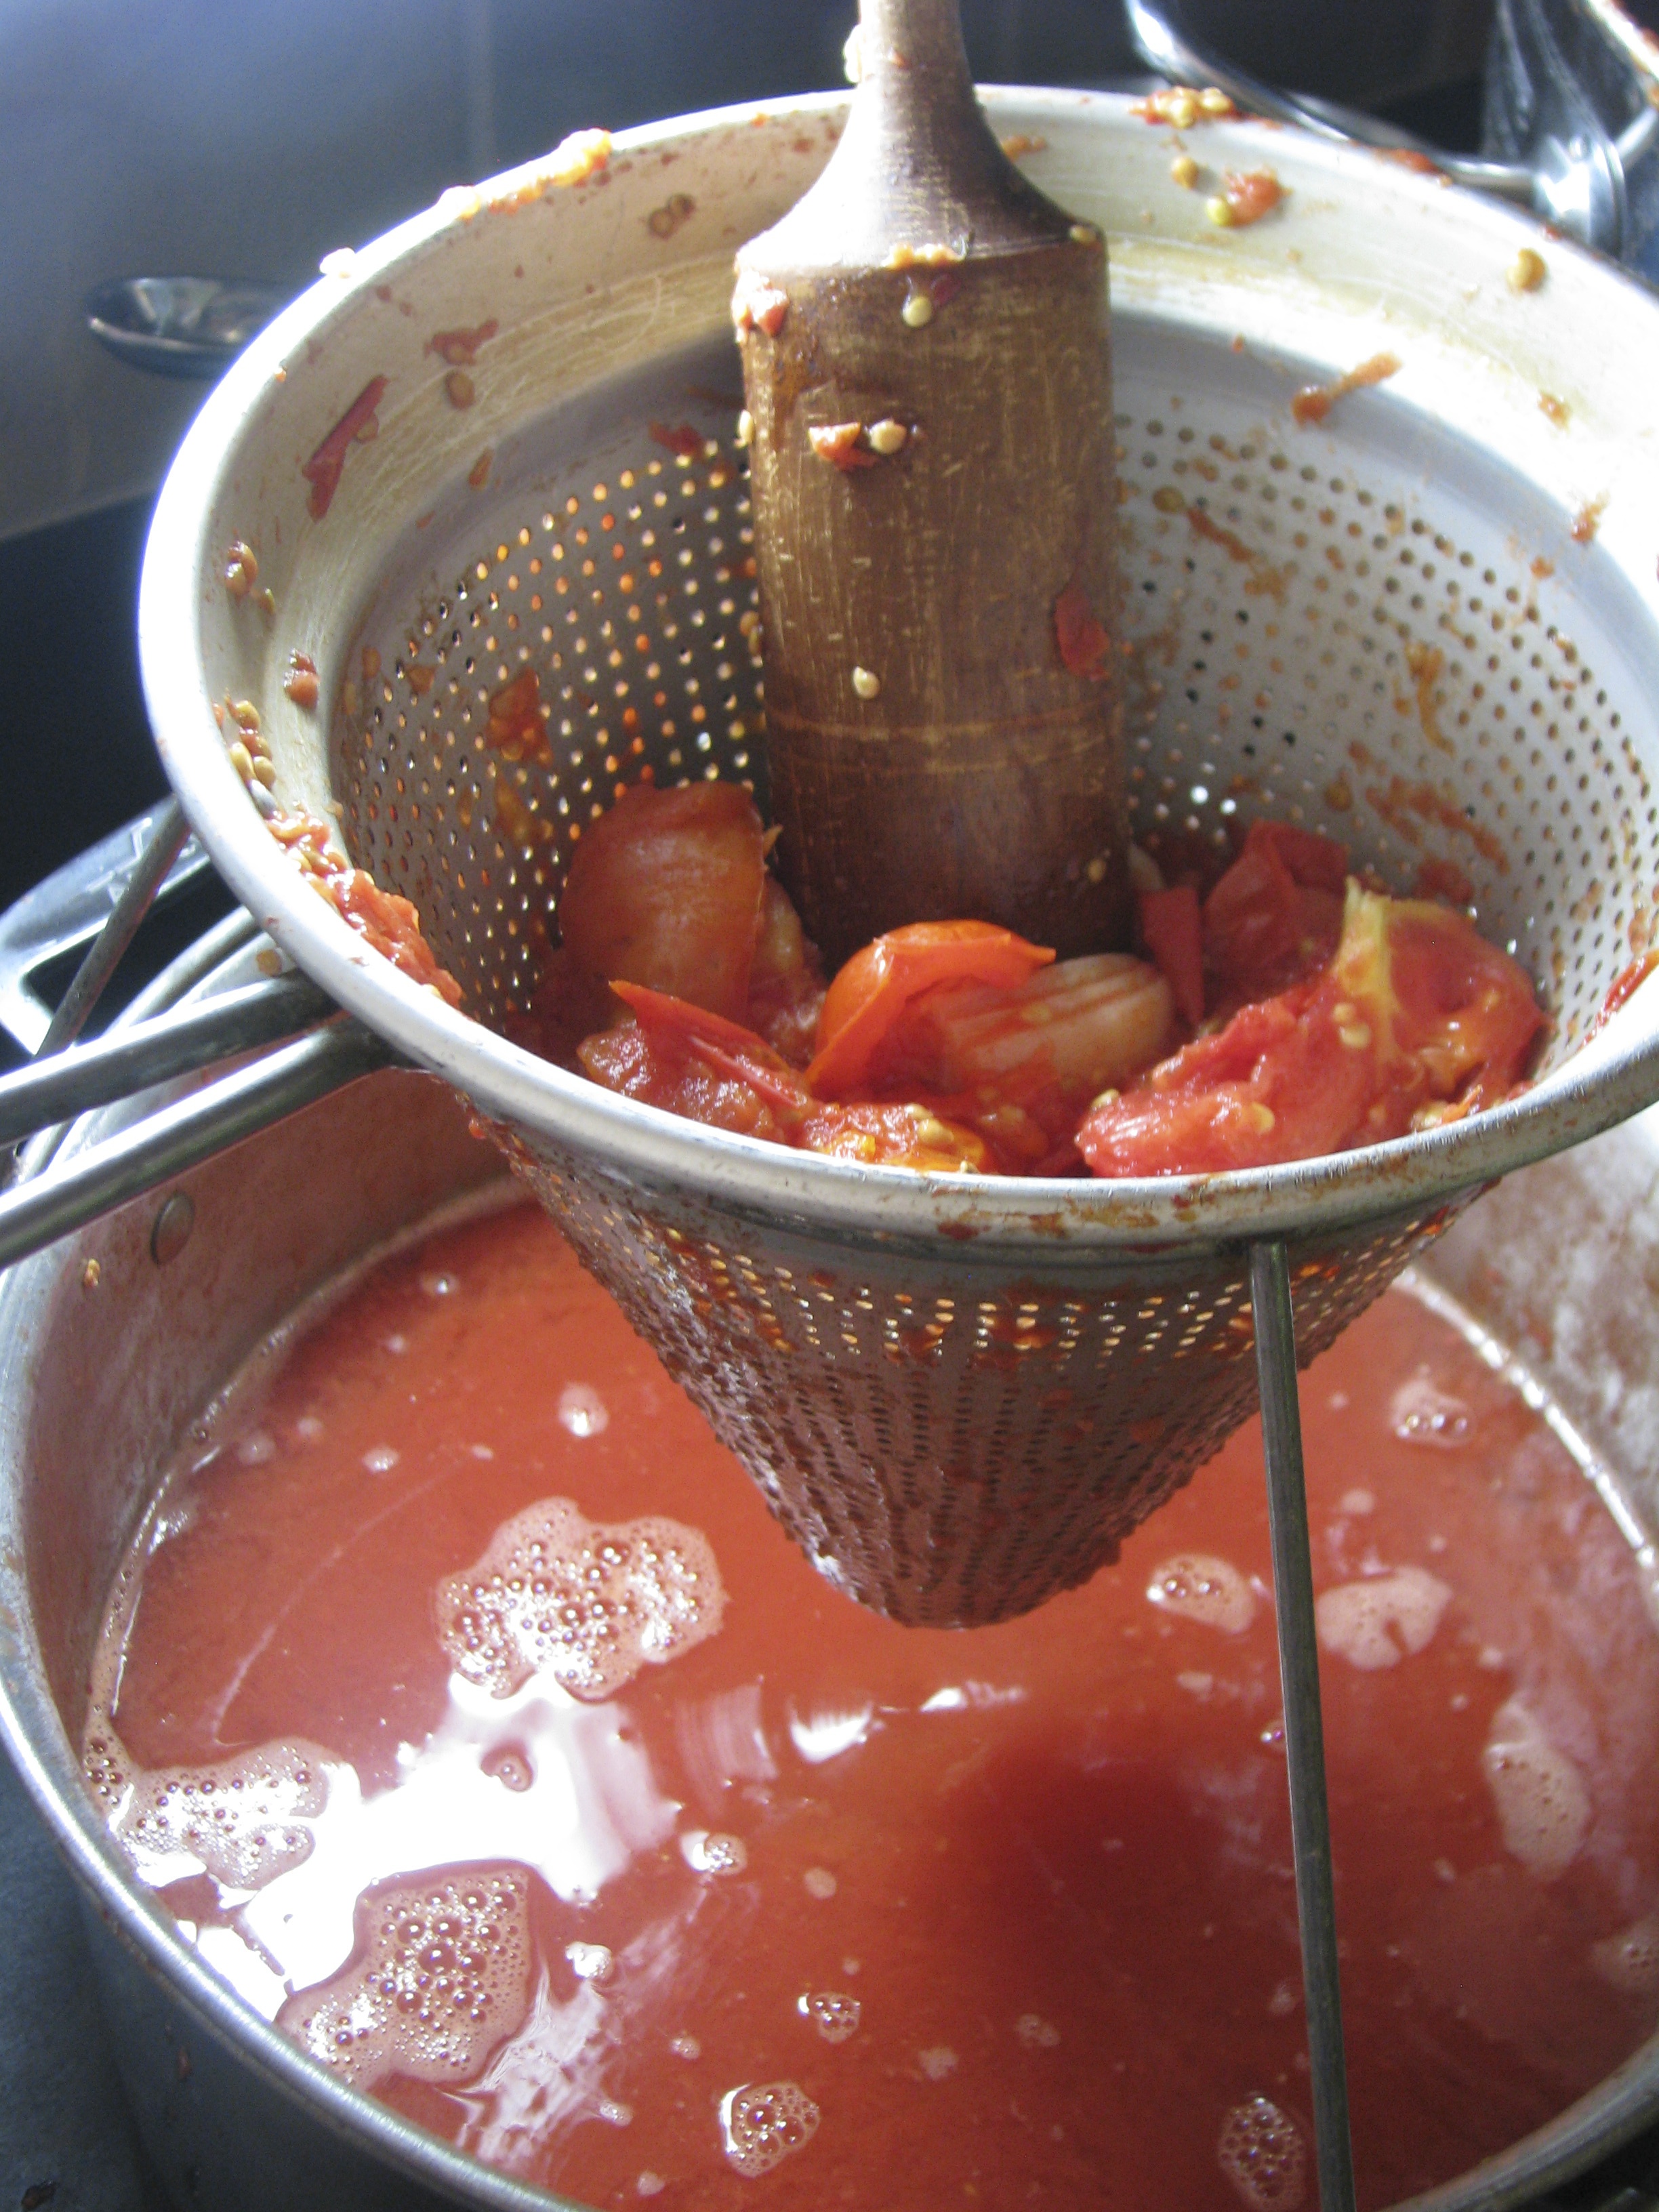
- Strain tomato mixture through the chinois sieve, using the pestle to strain juice into another large pot.

a chinois straining tomato juice
- Put juice back on stove to heat over medium/high.
- Heat the water in the canner until water is boiling. Cover until you’re ready.
- Put only the number of flats you will use at this time (7) in a small saucepan of water on the low heat.
- Ladle the juice into the first jar, covering the tomatoes so that the liquid reaches the bottom of the lip of the jar where the threads start. Wipe the rim with a clean damp cloth. Carefully lift out one flat from the warm water with a fork and your fingertips – but with minimal touching. Place it on the jar. Screw on the ring snugly, or finger-tight. Repeat for all seven jars.
- Carefully place all jars in the boiling water of the canner at the same time. Cover and process for 45 minutes.

jars in the canner
- Remove processed jars to a kitchen towel and cover with another one. Covering the jars is one of those Aunt Jeanne steps that keeps the jars warm and cozy, but is optional when it gets right down to it. I, however, will always cover mine for good luck.
- Check the lids in 4 to 5 hours by pressing on the centers of each lid. If a lid gives, refrigerate it. If there is no movement, success!

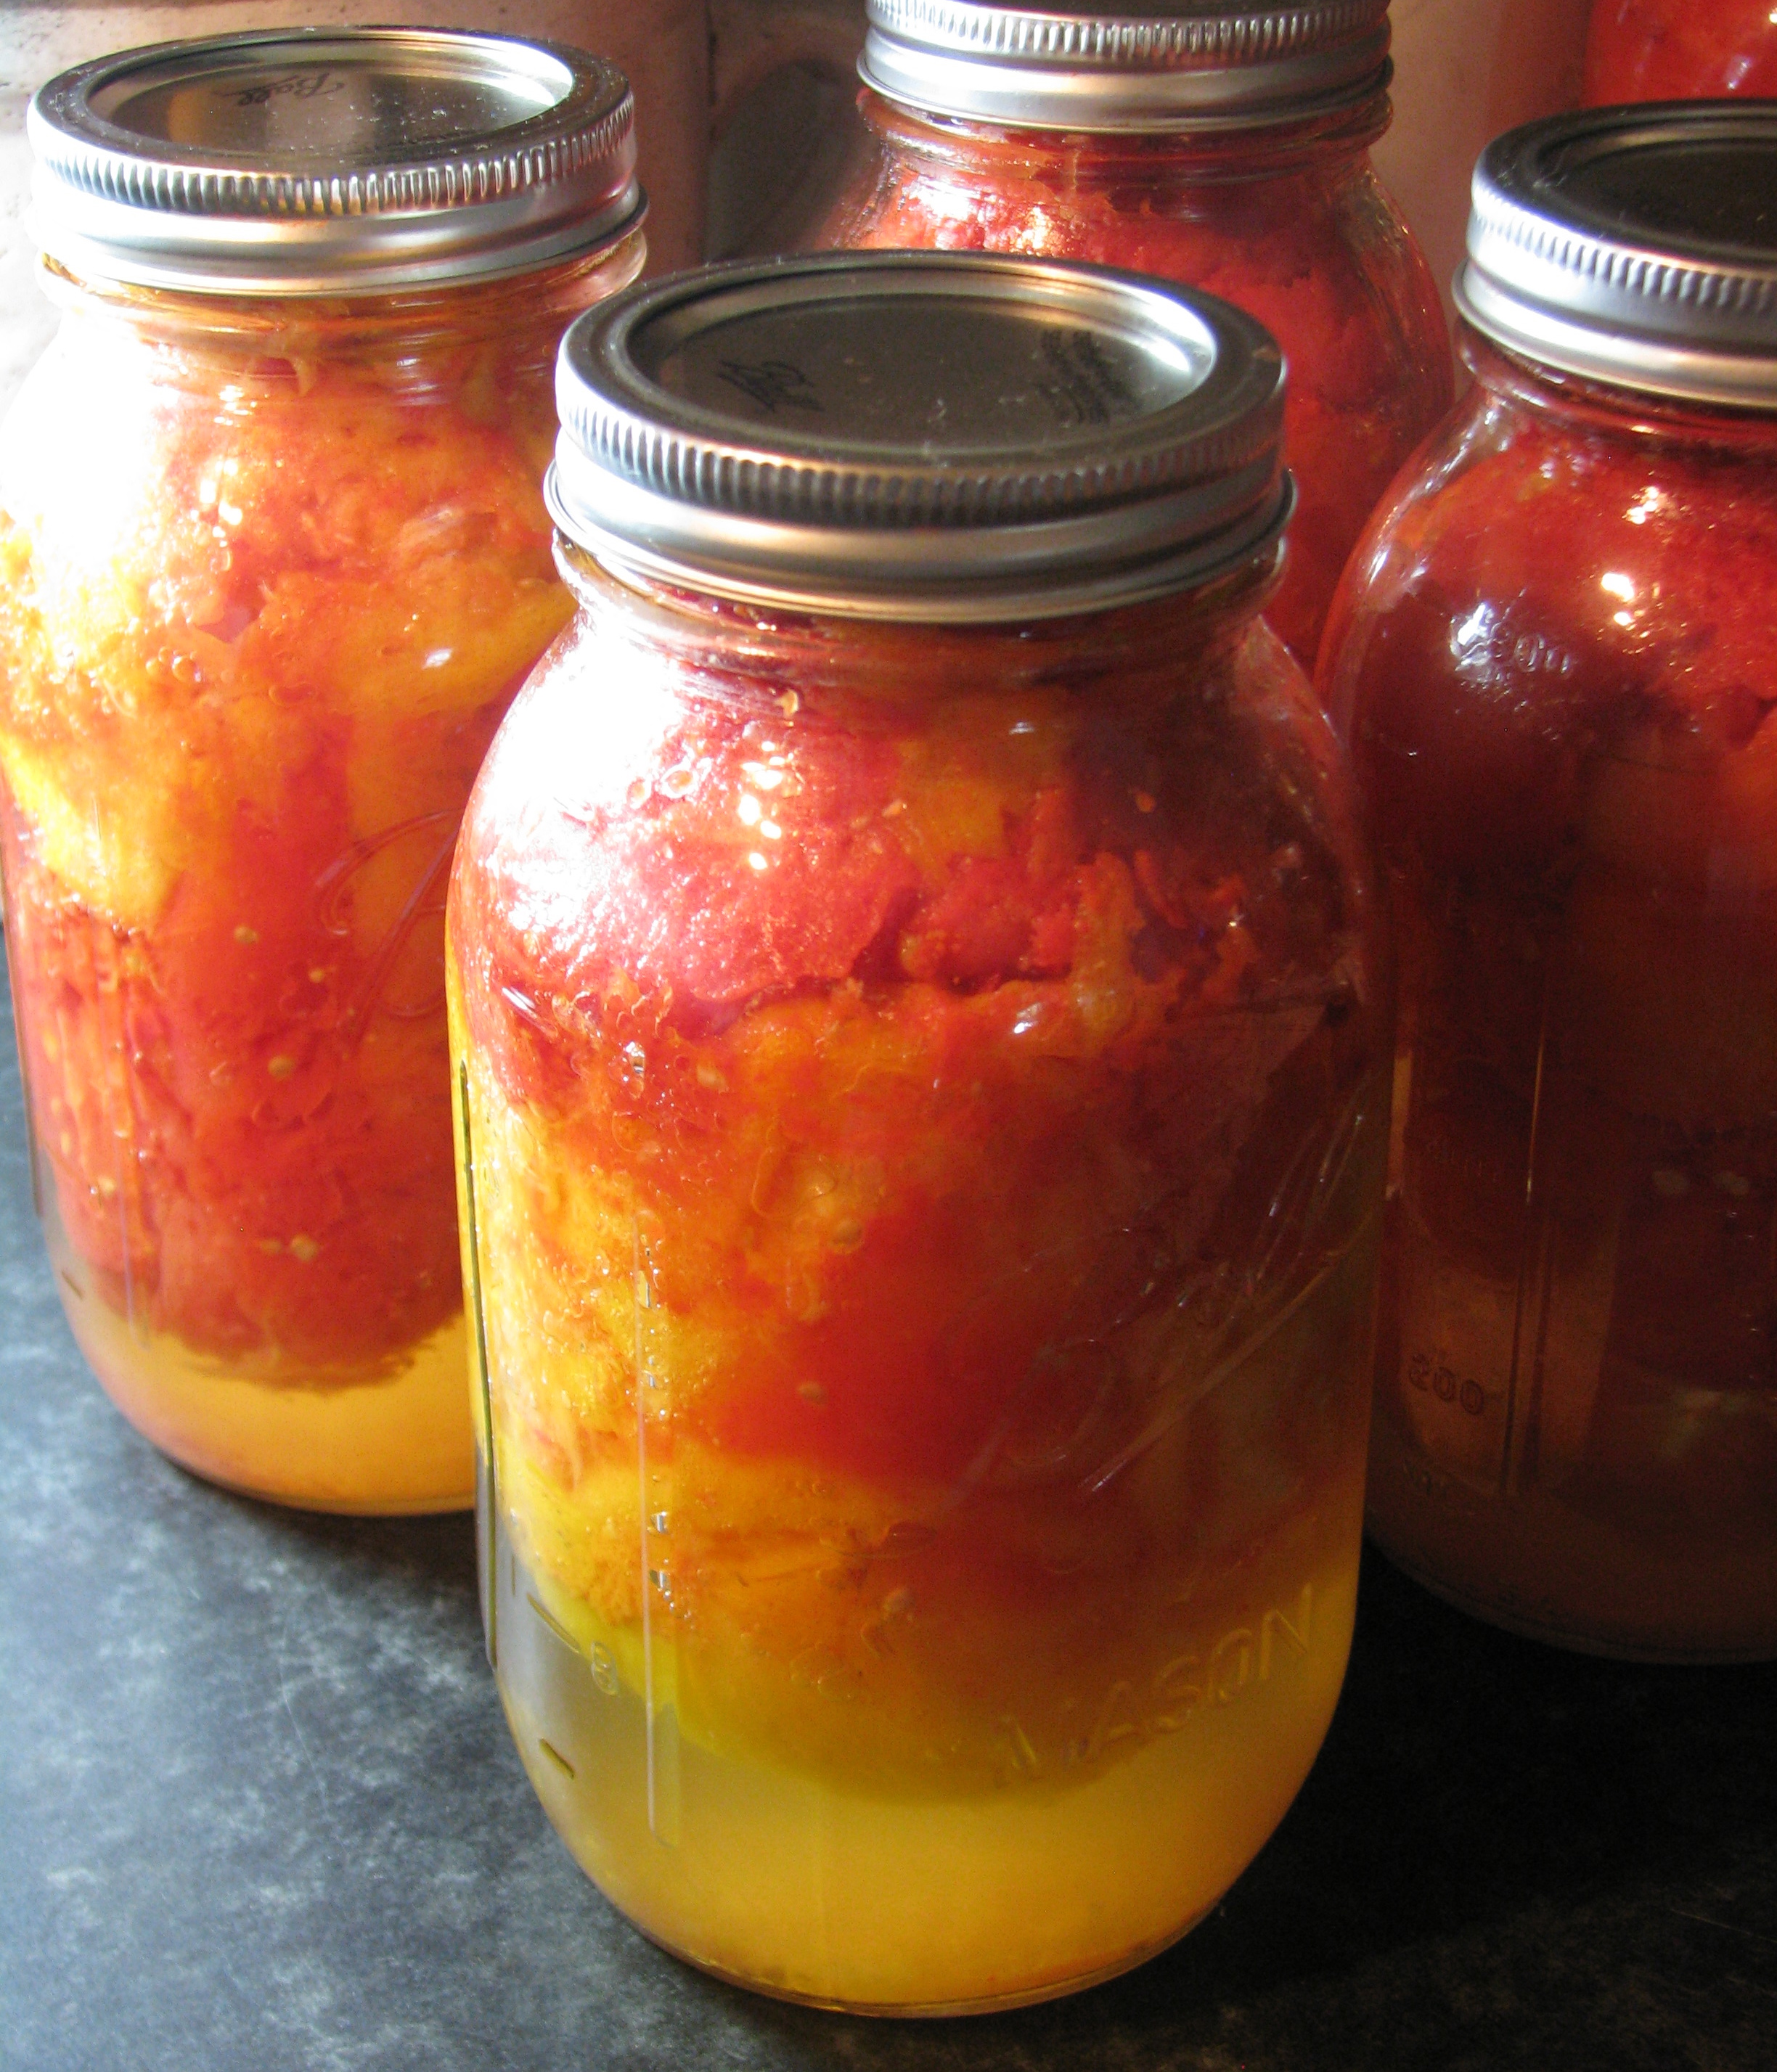
heaven-sent jars of heirloom tomatoes
If you have extra tomato juice, while it’s hot, pour into jars 1/2 inch from the top; wipe the rim; add a warm flat; screw on the ring until tight and let rest under a towel. There is no need to process jars of juice in the canner. Make sure they seal after 4 or 5 hours just as you did the others.